
How Do You Thread A Fishing Rod? It involves guiding the fishing line through the rod’s guides and attaching it properly to ensure effective casting and reeling. Proper threading is essential for a smooth fishing experience and helps prevent tangles.
Imagine you’re out on the water, ready to catch dinner, but your line isn’t threaded correctly. Knowing how to thread your rod not only saves time but also enhances your chances of a successful fishing trip.
Before you dive into threading your fishing rod, it’s essential to understand the key components that make it work. Knowing these parts will make the process smoother and more enjoyable.

Understanding Fishing Rod Components
A fishing rod is made up of several parts, each playing a crucial role in your fishing experience. Familiarizing yourself with these components will help you when it comes time to thread your rod.
The first major part is the rod blank, which is the main body of the rod. This is where the action and sensitivity come from. It’s typically made from materials like graphite or fiberglass, which provide strength while keeping the rod lightweight.
Next, we have the guides. These are the rings that line the rod and hold the fishing line. Guides help direct the line smoothly as you cast and retrieve, reducing friction that could lead to snapping. It’s crucial to ensure that the line goes through each guide correctly when you thread your rod.
Finally, the reel seat is where you’ll attach your fishing reel. This part typically has a locking mechanism to secure the reel in place, so it won’t wiggle or come loose while you’re reeling in a fish. A solid connection here is vital for a successful catch.
For example, imagine you’re out on the water, and you hook a big one. You want to be sure your rod blank, guides, and reel seat are all working together seamlessly. If one part isn’t functioning correctly, it could lead to a frustrating experience.
When you’re ready to thread your fishing rod, take a moment to inspect each component. A well-maintained rod will enhance your fishing experience and increase your chances of landing that trophy catch. Remember, understanding how each part works together is key to mastering the art of fishing!
Before you start threading your fishing rod, it’s essential to prepare your fishing line properly. Choosing the right line can make a big difference in your fishing experience, so let’s dive into how to select, cut, and check your line.

Preparing Your Fishing Line
Getting your fishing line ready is a crucial step before you thread your rod. The right line will not only affect your casting distance but also your success in catching fish.
First, you’ll want to select the right type of fishing line for your needs. There are various types, including monofilament, braided, and fluorocarbon lines. Monofilament is great for beginners due to its ease of use, while braided line offers superior strength and sensitivity. Consider the type of fish you’re targeting and the conditions you’ll be fishing in when making your choice.
Next, cut the line to the desired length. A good rule of thumb is to cut a piece that’s about 1.5 to 2 times the length of your rod. This gives you enough line to work with while ensuring you don’t waste any. Keep in mind, if you’re fishing in areas with heavy cover, a longer line might be beneficial for maneuvering.
Finally, check your line for any tangles or knots before you start threading. A tangled line can lead to frustrating casting and even lost fish. Unravel any knots gently to avoid damaging the line. You don’t want to start your fishing trip with a messy setup!
Here’s a quick tip: if you notice your line is frayed or damaged, it’s better to replace it than risk losing a big catch. A little preparation goes a long way in ensuring your fishing rod is ready for threading. Understanding How Do You Thread A Fishing Rod starts with getting your line right.
Threading a fishing rod might seem tricky at first, but with a little guidance, you can master it. This process ensures your line is set up correctly for a successful day on the water.

Step-by-Step Threading Process
Let’s break down the threading process into simple steps. You’ll start at the reel and work your way through the guides, securing the line as you go.
First, attach the fishing line to your reel. Open the bail arm and feed the end of the line through the line guide on the reel. Make sure to securely tie a knot, like the arbor knot, to keep it in place. This will give you a solid foundation as you move forward.
Next, it’s time to thread the line through the rod’s guides. Starting from the first guide closest to the reel, thread the line through the guide’s eye. You’ll want to follow the same path through each guide, moving toward the tip of the rod. If you’re using a spinning rod, make sure the line runs over the top of the guides. For baitcasting rods, the line should go through the guides in a way that allows for smooth casting.
As you move from guide to guide, keep the line taut but not overly tight. This helps prevent any tangles or twists that could lead to frustration later. Once you’ve threaded the line through all the guides, take a moment to check for any snags or twists.
Finally, secure the line at the rod tip. If you’re using a lure, tie it on with a reliable knot. For a simple setup, you can use a loop knot that allows for some movement. This is especially useful when using lures that require action in the water, like a spinner or crankbait.
Here’s a practical tip: Before you head out fishing, practice threading your rod a few times at home. It’ll help you get comfortable with the process, and soon you’ll be able to do it without thinking. Knowing how to thread a fishing rod properly sets you up for a successful and enjoyable fishing experience!
Threading a fishing rod may seem straightforward, but even seasoned anglers can make common mistakes. Let’s explore some pitfalls you should avoid to ensure you’re ready for your next fishing trip.

Common Mistakes to Avoid
Getting the threading process right is crucial for a successful fishing experience. Here are some typical errors that can lead to frustration on the water.
One of the most frequent mistakes is skipping guides. Each guide on your rod serves a purpose, helping to distribute the line’s tension evenly. If you miss one, it can cause the line to rub against the rod, leading to damage or tangling. Always thread through every guide to keep your setup running smoothly.
Another common issue is over-tightening knots. While you want your knots to be secure, cranking them down too hard can weaken the line. This can lead to breakage at the most inconvenient times. A loose knot might slip, but a snug one will hold without compromising the line’s integrity.
Lastly, using incorrect line can lead to headaches. If your line isn’t suited for your rod or the type of fishing you’re doing, it won’t perform as expected. For example, using line that’s too heavy for a light rod can cause casting problems and reduce sensitivity. Always match your line weight with your rod specifications for optimal performance.
When you’re threading your rod, take your time. Avoiding these common mistakes will make your fishing experience more enjoyable and successful. Trust me, your future self will thank you when you’re reeling in that big catch!
Getting your fishing line to thread smoothly can make a big difference in your casting and reeling experience. Here are some practical tips to help you set up for success.

Tips for Smooth Casting and Reeling
With the right techniques, you can improve your line’s performance and enjoy a hassle-free fishing day. From lubricating the line to managing your drag settings, these tips will keep you casting like a pro.
First up, consider lubricating your line. A little bit of line conditioner can go a long way. It reduces friction, which helps the line glide through the guides smoothly. This means fewer tangles and a more enjoyable experience when casting. Imagine reeling in a big catch without the hassle of a snagged line—sounds good, right?
Next, proper line management is key. Make sure your line is spooled correctly and evenly on the reel. If it’s uneven, you’ll face issues when casting, and your line may even backspin or tangle. As you thread your line, keep an eye on how it’s feeding off the spool. This can save you a lot of headaches out on the water.
Finally, adjusting your drag settings can make a significant difference. If your drag is too tight, it could lead to breakage when a fish pulls hard. On the flip side, too loose of a drag can cause the line to slip and lose your catch. Find that sweet spot where your drag allows for a fight without compromising your line’s strength.
So, before you head out with your rod, remember to lubricate your line, manage it properly, and adjust your drag settings. These small adjustments can enhance your fishing performance and make your time on the water a lot more enjoyable.
Threading your fishing rod is just the beginning. Proper maintenance after threading can significantly extend its lifespan and ensure you have many successful fishing trips ahead.

Maintenance After Threading
Once you’ve threaded your fishing rod, keeping it in great shape is essential. Regular cleaning, proper storage, and checking your line can make a big difference.
First off, cleaning your rod and guides is a must. After each fishing trip, take a moment to wipe down the rod with a soft cloth. This helps remove dirt, salt, and grime that can build up, especially if you fish in saltwater. Don’t forget to check the guides; they can snag your line if they’re dirty or damaged.
Next, storing your rod properly can prevent unnecessary wear and tear. When you’re not using it, keep your rod in a protective case or in a rod holder. Avoid leaving it in direct sunlight or in extreme temperatures, as this can warp the materials over time. Think of it like putting your bike in the garage instead of leaving it outside in the rain.
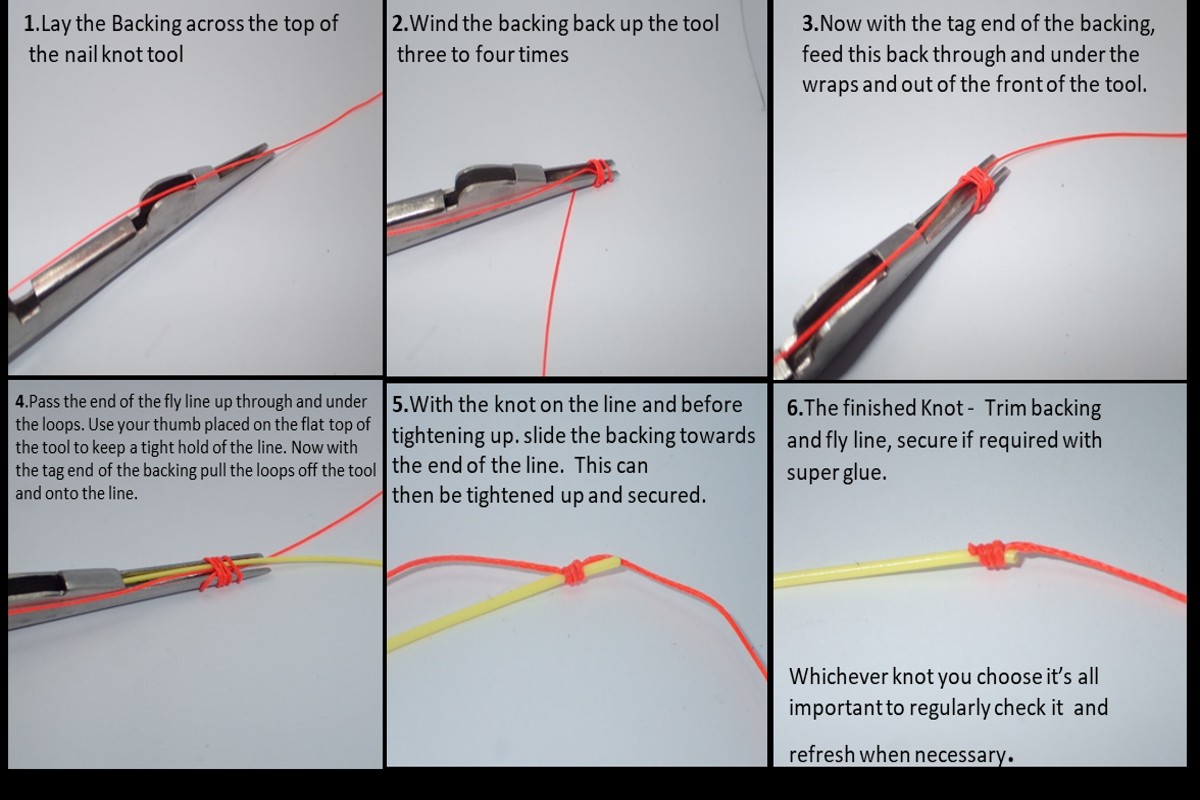
Regular Line Checks
Your fishing line also deserves some attention. Regular line checks can help you avoid frustrating break-offs while you’re out on the water. Inspect your line for nicks, abrasions, or twists. If you notice any damage, it’s time to replace it. A good rule of thumb is to change your line every few months, or more often if you fish frequently.
By following these maintenance tips, you not only enhance your fishing experience but also ensure your rod lasts for years to come. Taking care of your gear means more time catching fish and less time worrying about equipment issues. Happy fishing!